I thought I would post a little something on how to make fabric more interesting for our clients.
Fabric on small figures should be treated as if it was in scale with the figure. Too often artists will simply let the fabric hang on the figure without adding motion to the material. The result is that we have great sculpts with big, puffy clothing or a figure with no motion to the sculpture.
Here are some simple things which an be done to the fabric to add motion:
STARCH- many artists starch or otherwise treat the fabric. This works well but you run the risk of losing the form during shipping or using a much larger box to ship the "frozen" fabric. Larger box= more money!
HEAT- This is a very simple way to make minor adjustments in clothing. I like to use the heat gun to make clothing sag on the body as real clothing does on our frames.
WIRE- I like this technique because you can get more dramatic looks to cloth and they can still be shipped in a small space without worry of damaging the form of the cloth.
 I am adding material to the piece to add another layer of color and texture to try and make her more interesting.
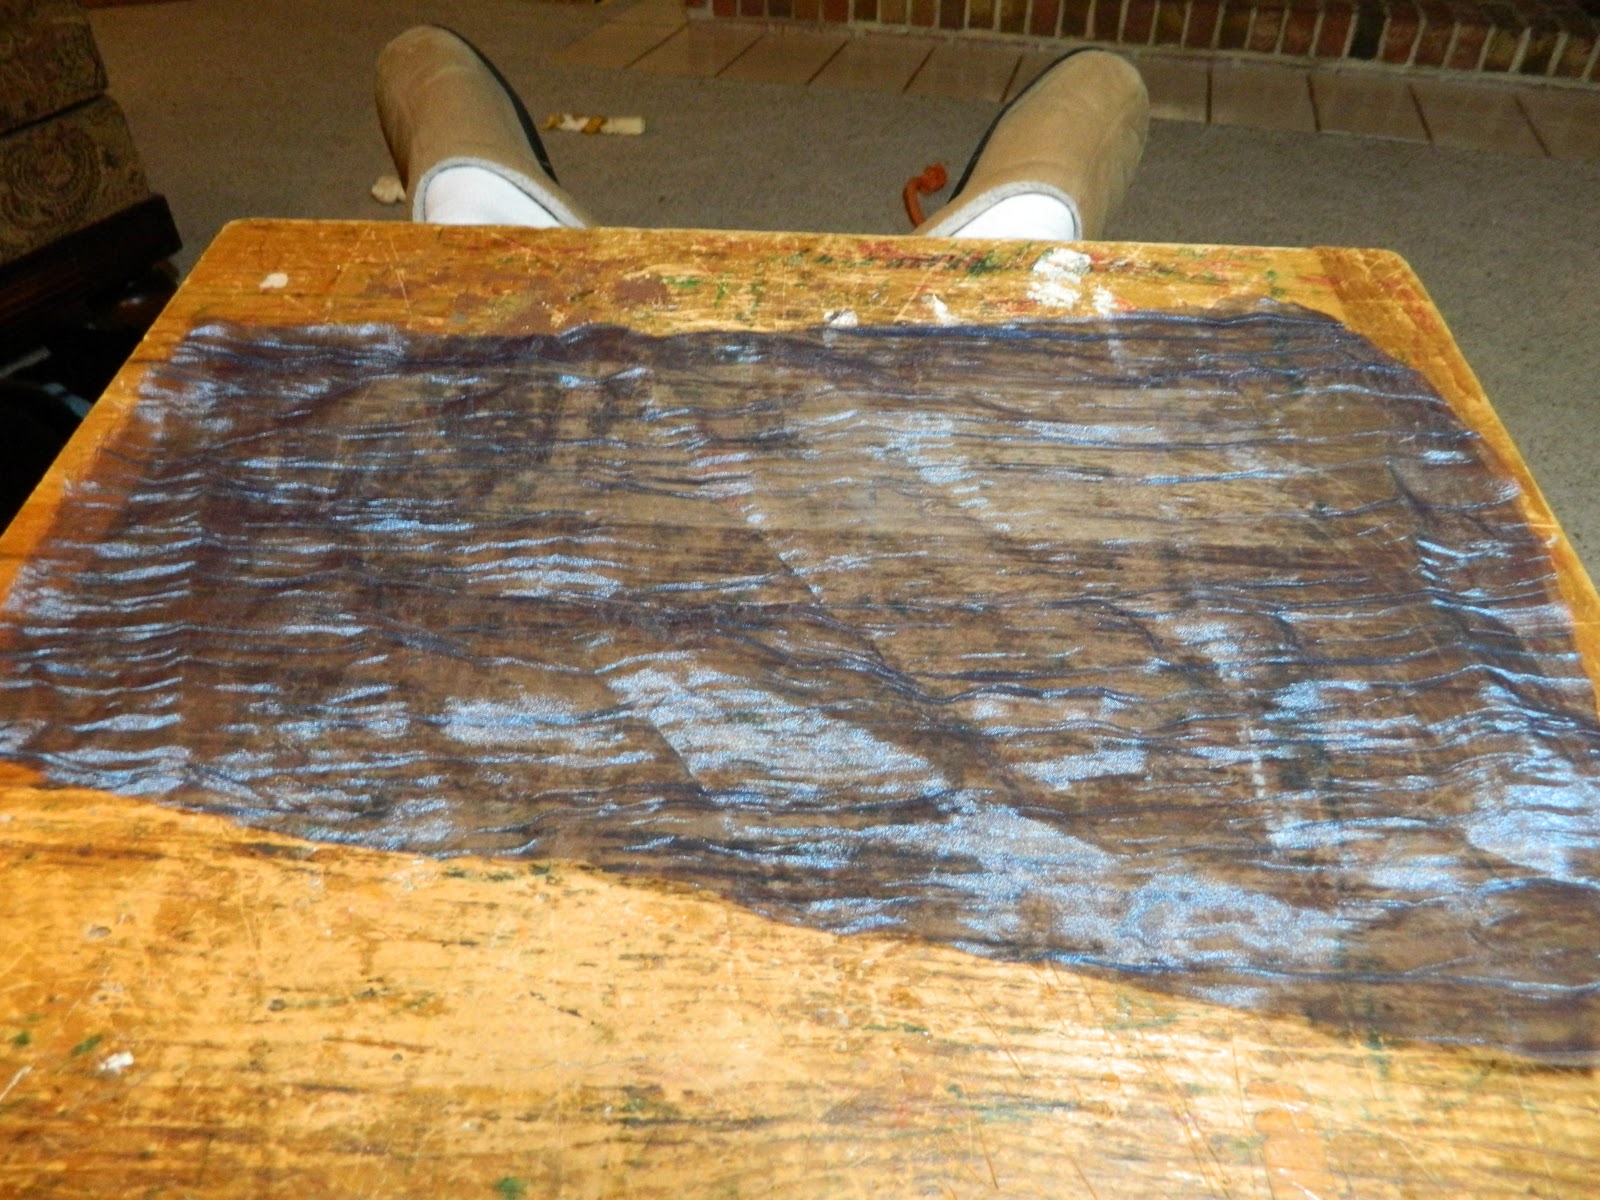
 I cut a piece of blue material for the draping.
 Using glue, I turn a hem in the edges. Into this I insert a 20 gauge jewelry wire. For those who can sew a small seam, I always recommend sewing over gluing.
 Three sides of the cloth have wire. The top edge is left without.
 The cloth is draped over the body so a wind-blown, flowing motion is created.

 The fabric is tacked to the body with Fabri-tac in a few spots where it will not be seen if the cloth shifts.
 Extra folds are pinned in place then the fabric is heated with the heat gun to relax the fabric.

Feathers can be treated like cloth if you are careful. Support the feather with a rounded form (in this case I use the handle of my sculpting knife) and apply heat from a heat gun. Keep the gun about 12" away from the feathers and heat them gradually so they will curve away from the heat.
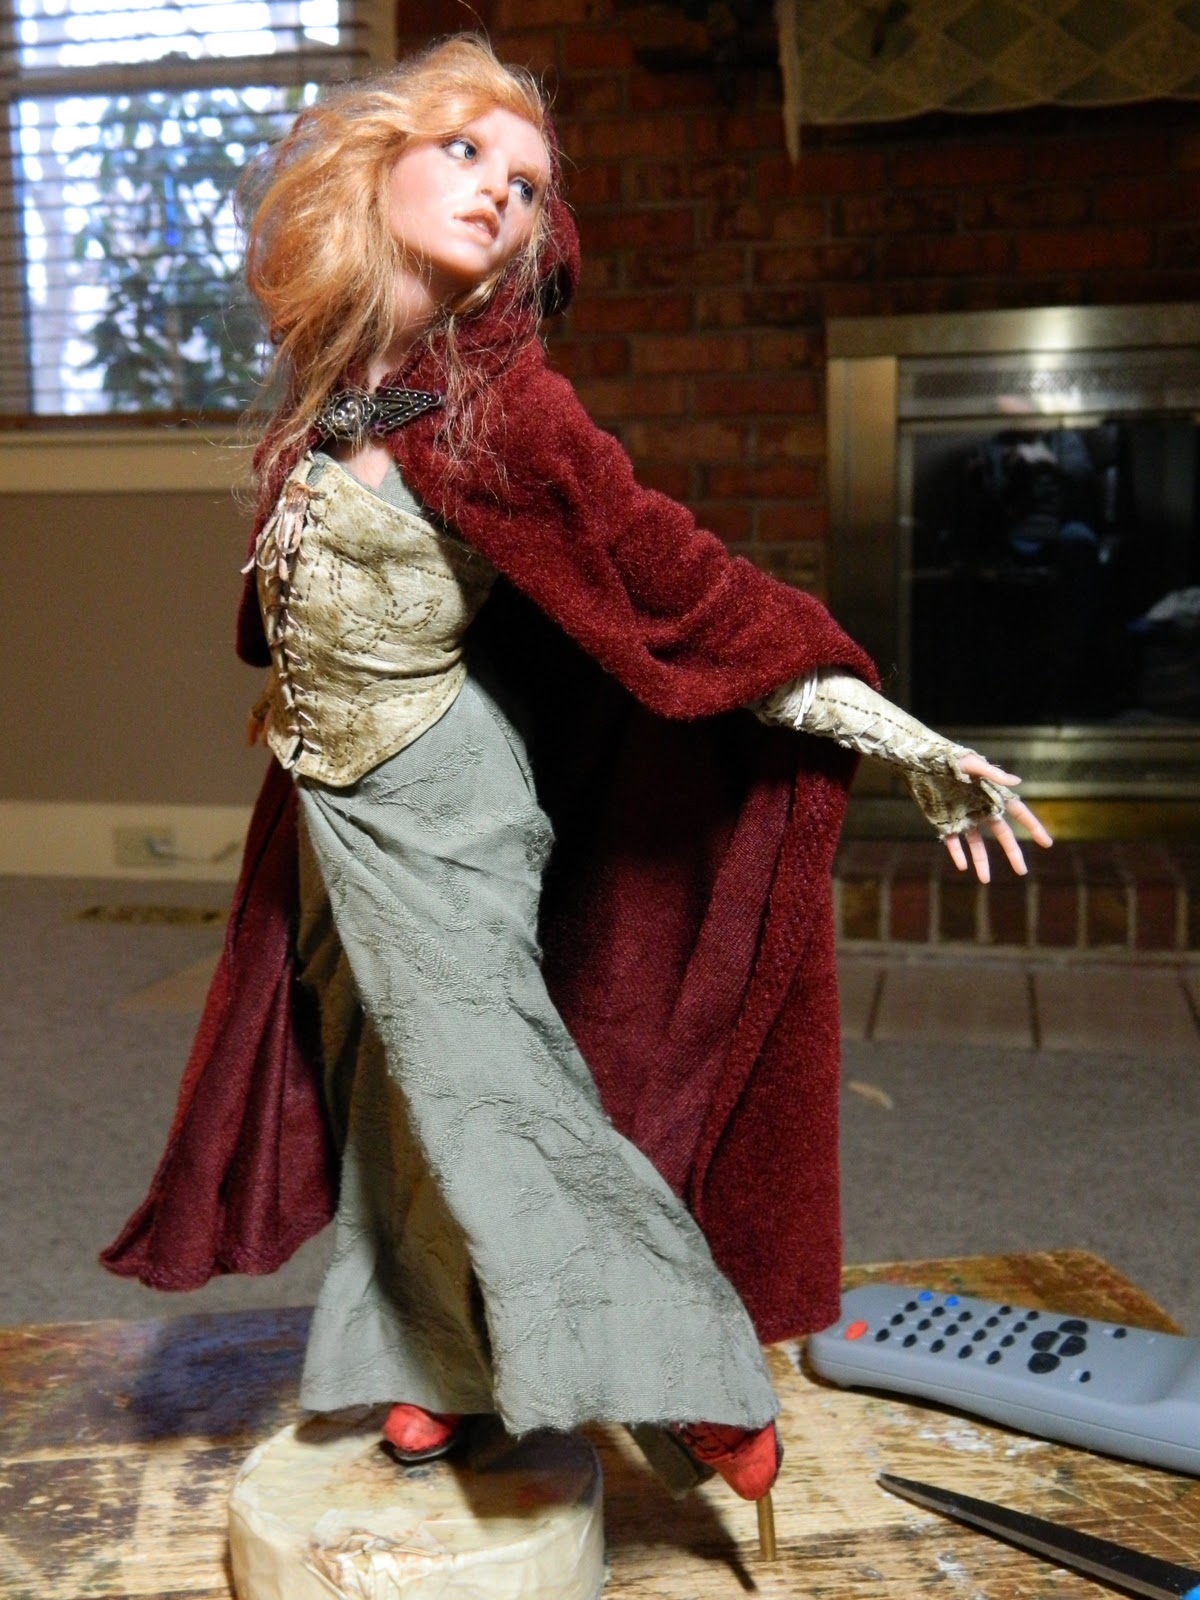
 Here is the finished piece with the fabric and the feathers curved to add some wind to the piece. The hair was also heated from the same direction (your right) so it has tendrils which are blowing in the wind as well.
Thanks for looking and have a great New Year!
Mark
Fabric on small figures should be treated as if it was in scale with the figure. Too often artists will simply let the fabric hang on the figure without adding motion to the material. The result is that we have great sculpts with big, puffy clothing or a figure with no motion to the sculpture.
Here are some simple things which an be done to the fabric to add motion:
STARCH- many artists starch or otherwise treat the fabric. This works well but you run the risk of losing the form during shipping or using a much larger box to ship the "frozen" fabric. Larger box= more money!
HEAT- This is a very simple way to make minor adjustments in clothing. I like to use the heat gun to make clothing sag on the body as real clothing does on our frames.
WIRE- I like this technique because you can get more dramatic looks to cloth and they can still be shipped in a small space without worry of damaging the form of the cloth.


Feathers can be treated like cloth if you are careful. Support the feather with a rounded form (in this case I use the handle of my sculpting knife) and apply heat from a heat gun. Keep the gun about 12" away from the feathers and heat them gradually so they will curve away from the heat.

Thanks for looking and have a great New Year!
Mark