Monday, January 31, 2011

Lebrechaun (socks and shoes) ** Contains incidental artistic nudity!

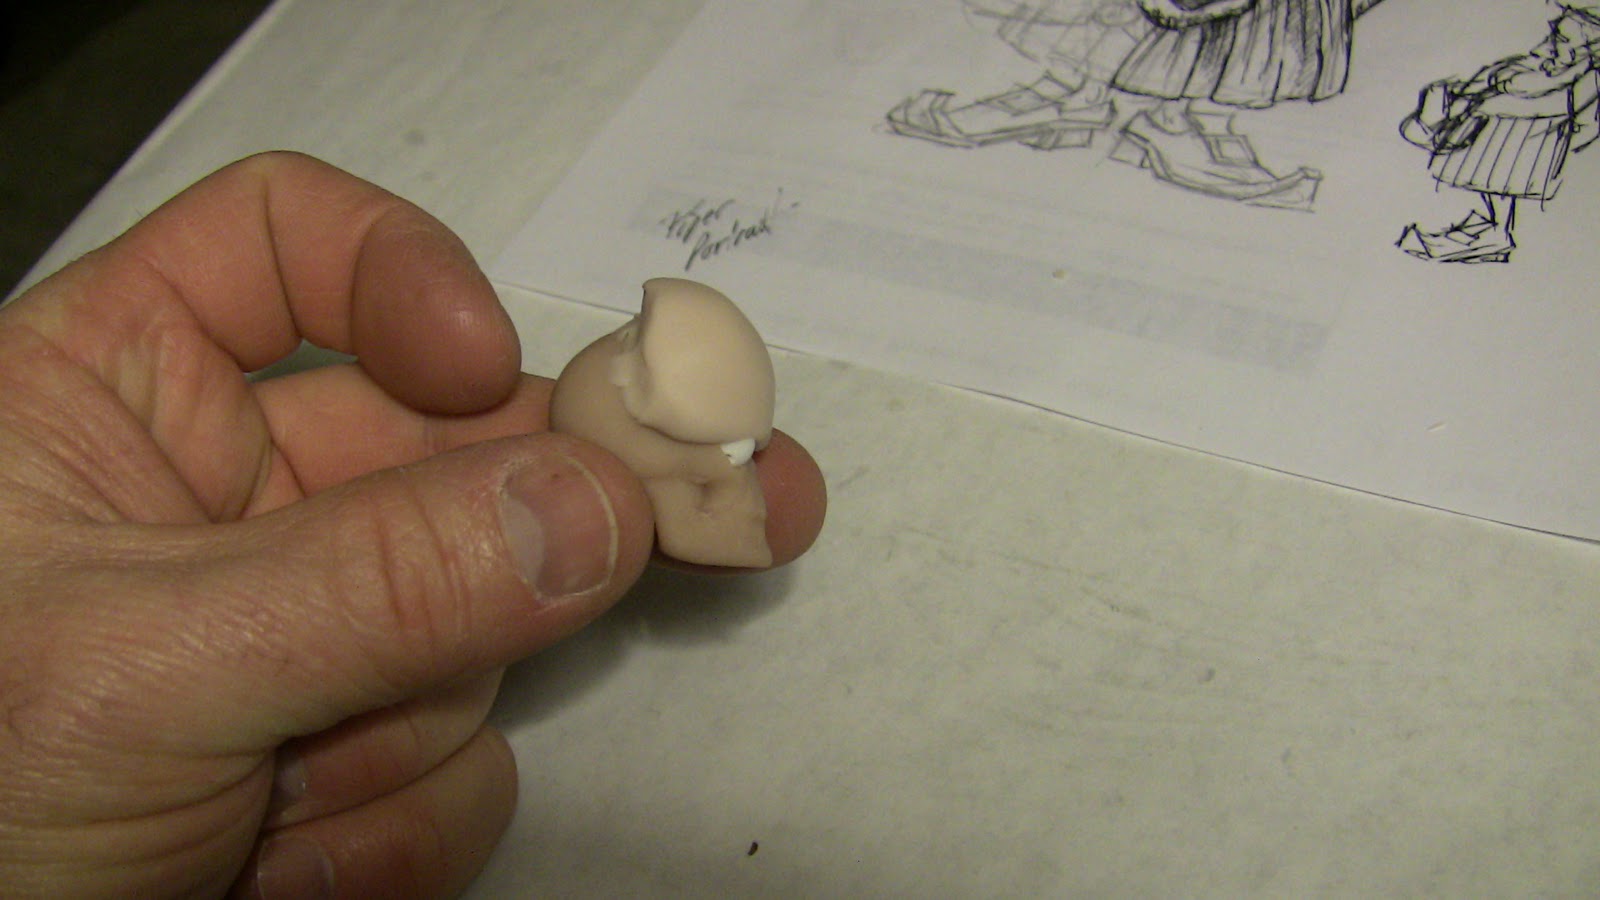
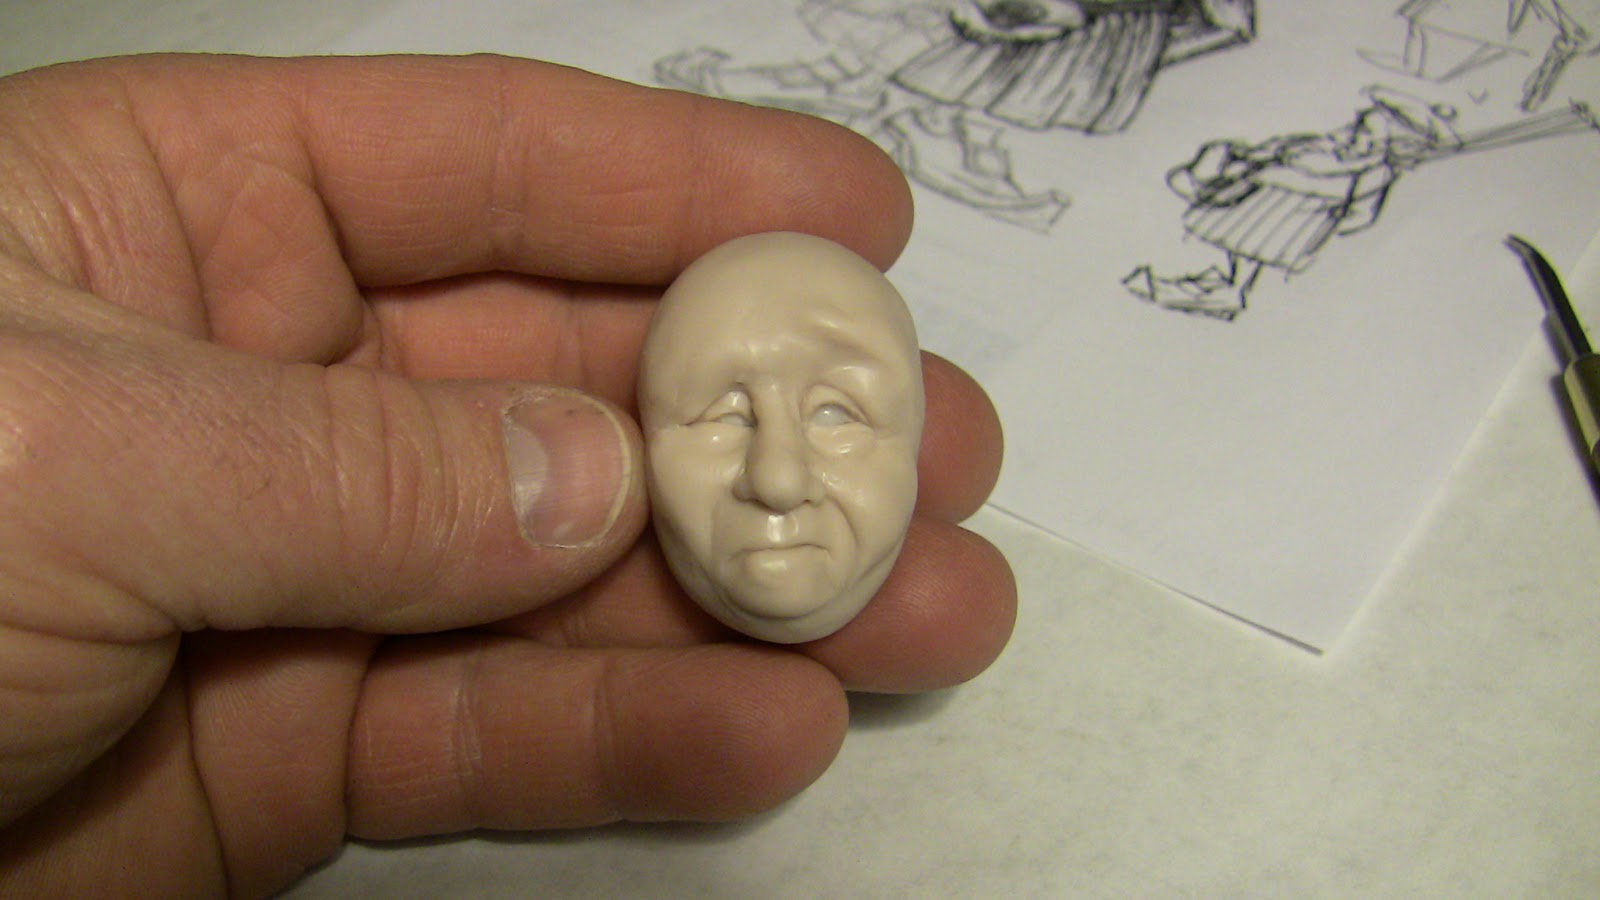
 Thought that we would start by showing the finished piece so you can see where we are going and how we are getting there.
 The socks are a nice faded cotton print. I cut a piece to fit from the knee to the ankle with enough extra to add wrinkles. I tend to mark all my cutting in place as I go rather than use a pattern.
A thin layer of Fabri-tac is applied to the front and sides of the legs then the cloth is stretched around the leg and wrinkles are worked into it before the glue sets. If you use too much the glue will seep through the cloth and leave a shiny, wet spot in your cloth. Not an issue if you are distressing the clothing later.
 The inside of the back seam is glued flat. I mark the seam on the back side of the outside edge of the sock and extra cloth is trimmed off the outside edge allowing for a 1/8" seam.
 The 1/8" extra is folded under and glued in place. This can be hand sewn but my hands just can't do this minuet work any more. Make sure the stripes line up if you use a pattern in the cloth.
 Finished sock.
 SHOES
His shoes are made of black glove-grade leather which is much thinner than clothing leather or carving leather.
The heel is a simple arc (left one) which has the top edge turned and glued down to make a point which will lay on the tendon of the heel (right one). *The suede side of leather can be held together with Fabric-tac. If you join the finished sides of leather together, you will need another type of glue. I use super glue to attach to the polished side of a hide.

The heel is glued and stretched in place so the excess on the bottom wraps around to the sole of the foot.
 The upper is just a square with a tab. The tab side is again turned under and glued so there is no raw edge.
 This is laid on the top of the foot with the tab running up the ankle. It is glued in place and the leather is stretched around to the bottom of the foot. * Make sure the sock is covered so it looks like it runs all the way into the shoe.
Extra leather is trimmed off the bottom so there are no overlaps on the sole.
A set of strips are cut for buckle straps. the edges are all turned under and glued.
 Soles are made of carving leather which is cut to fit using the the foot as a pattern. In this case they are Elk hide. The heels are built up with layers or leather cut to fit and glued with super glue.
The soles are glued to the shoes. The buckle strap has been glued to the top of the shoe on one end in case I want to slip a metal buckle on before I finish them.
The shoes will be stitched, dirtied, and distressed later in the dressing process.
Thanks for viewing, have a great day!

Sunday, January 30, 2011

Leprechaun (paint and hair)

 Last time we cured this little guy so today we will paint and hair him. The following steps have been done: (just a check list for those sculpting along) Whole body is cured, pose changed, repairs cured.
Superheated the ankles, knees, hips, shoulders, entire arm, hands and fingers, and ears.
Fingernails are applied and cured with the heat gun.

He is now painted with my basic mix of Raw Umber, Raw Sienna, and extender. This is wiped off and while he is still wet a wash of Adobe red and extender is used to "pink" him up a bit. This is wiped of as well and as he dries I dry brush some red into the hi light areas of his hands and face. He is aged a bit by brushing some Wedgwood Blue into the temples, under the eyes, and the furrows in the back of the hands. Some dark purple veins are added in the furrows of the hands just above the knuckles.

He is done painting and ready for hair.


 I decided on am "Amish" look of beard with no mustache. A very coarse goat hair is applied in layers to the chin and around the back and sides of the head. This hair is great because it has brown, red, and gray fibers in it.
His eyebrows also get some hair.
He is ready for some clothing next time. Have a great day!

Saturday, January 29, 2011

Leprechaun (Warning contains elfen nudity!)

 The head has now got the back attached and is placed on the body to work the transition to the torso. You will note how the neck pretty much disappears under the waddle which is typical for older, heavy-set wee folk.
Again, the major structures of the torso are marked as a reference for shaping the body. During the head attachment, the face underwent more changes as well. More detailing of wrinkles, pushed the lower jaw out, etc...
 Blah, blah, blah, back.
 As he and I sat in contemplation of each other, he very quietly announced to me that he was actually a Leprechaun and not a Scotsman. After we discussed the ramifications of this statement, we decided to alter his pose to one of the traditional Irishman poses of jumping and clicking his heels.
Since the clay was not cured, this was a simple alteration. I grabbed his torso and gave it a big twist to the side so his feet wood no longer touch the floor. He then needed a new support so I slid a brass tube up over the arm wire till it hit his shoulder then bent it at the walking stick (Shillelagh) and cut it off to fit into the base.
 The bottom portion of the support is covered with clay and cured with the heat gun so the rest of him remained raw clay in order to keep sculpting.

 His hand is sculpted over the knob of the stick and his feet are sculpted to the shape of his shoes without the soles.
He got some major ears attached to the head which are down turned slightly so they don't keep his future hat too far up his head.
The walking stick was bent at the base to center his mass over the contact point in the base a little more.
You will note that the body needs only the basic shaping since he will be covered with clothing. Hands and exposed skin got detailed.

This last picture shows another change which was done after he was cured. The knees weren't bent enough so I cut them at the joints and reposed them. the surfaces then got wet down with liquid Sculpy and filled with clay. A final curing with the heat gun gets them ready for painting.


I have added a finished view of the face so you cans see the detailing of the skin.
More next time. Have a great day!


Thursday, January 27, 2011

Leprechaun head

Bouncing back from the nymph to this little guy. Lets take a look at sculpting an older face. Keep in mind that this will be more of a caricature than a portrait.

A layer of conditioned clay is placed on the forehead of the skull overlapping the tops of the eyes.
 Extra clay is trimmed of the back of the skull so there is a place to hold the clay.
 Clay is applied to the jaw and side of the face being careful not to add too much clay over the nose area.
The clay is worked around the eyes to keep them open at this point.

 A wedge of clay is added to the nose area and is rough shaped.
The nose is shaped to that typical of an older man which is larger at the tip.

 A pad of clay is applied to the upper lip area of the mouth

Lower lip is added.

Cheeks have a little more clay added to give a rounder look. 

 Lower lids are added and the bags under the eyes are started to be defined.

 Upper lids and brow are added.

 Brow is increased to add more character. The eyes are shaped to give the "puppy dog" look of the drooping outside.

 The forehead is enlarged to give a more dwarfish look.

 The lower jaw is thickened in preparation of a thick neck and double chin to be added after the head is attached.

 Playing with some character. Raised the mouth and eyebrow on one side.
 Forehead wrinkles and crow's feet are added on the same side so you can compare the rough face to the working side.
 Detailed side of the face.
Both sides detailed. Little bit of a smile added to the entire mouth area. We'll hop back to the torso and do some work now that we have a head. Have a great day (without snow)!