

To bend the wire, it is best to use a pair of pliers. Grab the wire and turn your wrist to bend while pushing the wire against your free hand. If you have hand issues, grab the wire and bend while pushing against a firm surface.

This will give you a nice sharp bend.


For legs, the tubes are pushed all the way to the bend in the wire (this will end up in the upper chest).

The tubing is bent in the same manner as the wire being careful not to bend so far that you need to bend back to correct your bend. If you bend back, the tubing will likely crack and break.


The same process is used to bend the hip back to form the actual hip joint.


The arch in the back can be bent in the same multi-bend manner. Use the pliers to support the point where you want to bend then push against a firm surface to bend the tubes and wires as needed.


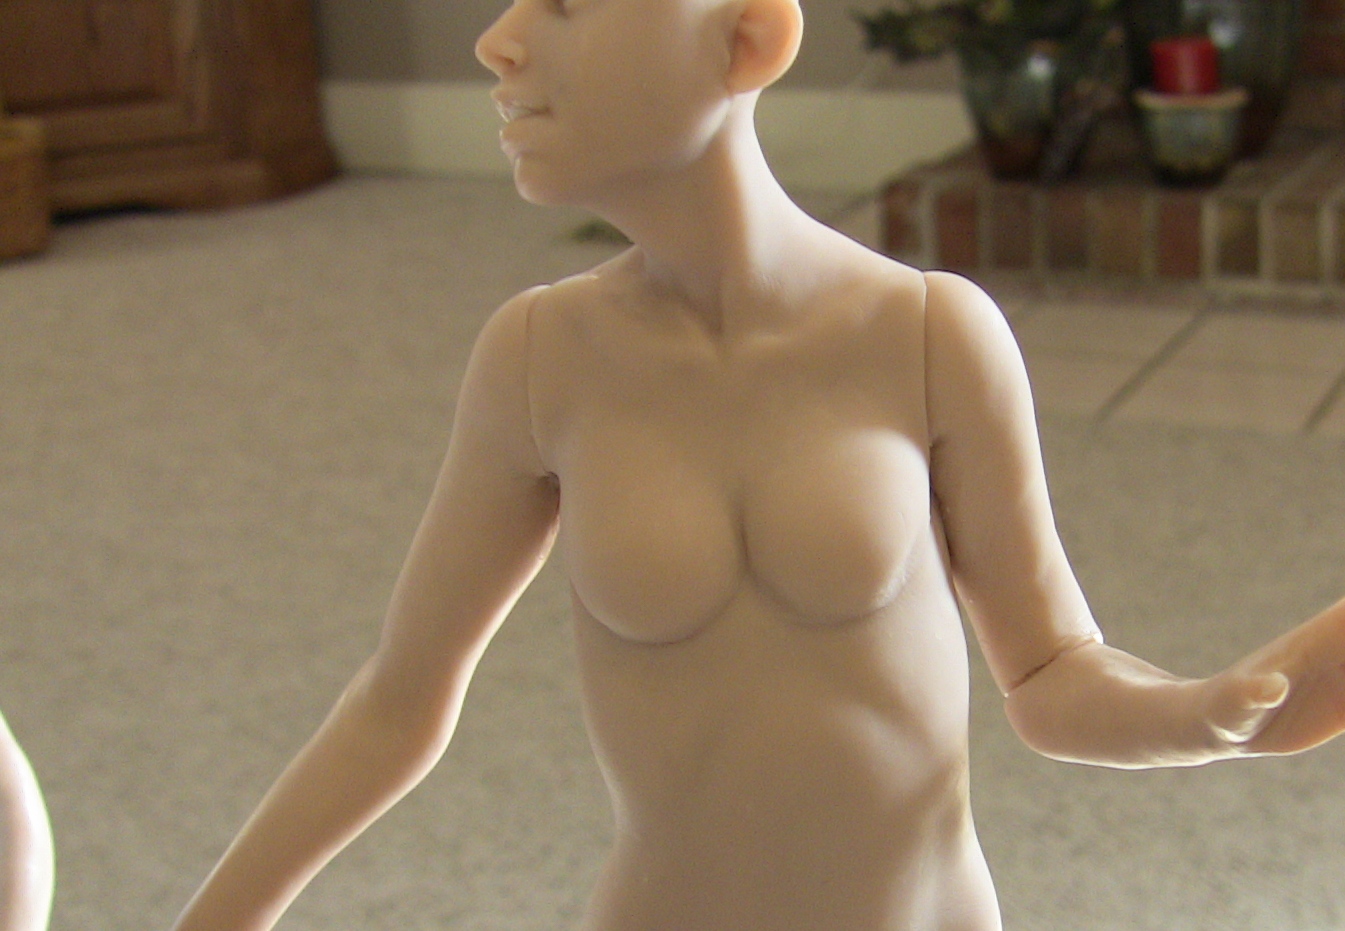
A former student and good friend asked about an armature for holding an object; in her case it was a guitar. I like to add a series of control joints to the clay before curing if I know that the figure may need slight adjustment or "give" after curing and the clothing will cover these joints. Here I have taken a knife and cut the clay down to the wire armature at the shoulders and on one elbow. This lets the arm be reposed slightly at the end of dressing the figure.

Cuts from the rear.

A finished piece with control joints cut into the clay so the musical instrument can be eased into his hands without looking odd.
hope to see you next time, keep the questions coming and have a great day!
Thank you for the informative tutorial!
ReplyDeleteThanks for all your help :)
ReplyDeletejust a quick question mark, if you have the brass wire tubing supporting the wires, can you still just wrap it all together with foil tape or would you be needing to solder the whole thing?
ReplyDeletedo you slide the cut piece down & away form the rest of the body when you bake so it doesn't accidentily reattach itself or do you re-slice after baking as necessary?
ReplyDeleteWill you be showing your Alice here as you progress with it?
Karen, If you are doing a simple piece (no elephants landing on pin heads for instance) all you need to do is foil tape the parts together.
ReplyDeleteKarin, I let segments touch when I cure. If they fuse together the connection will not be very strong. If you need to break them apart to work or adjust you can, if not, just let them alone.
Mark, I've never heard of control joints and sure could have used these in some of my past sculpts. Thanks so much! Finally, I can get the little adjustments I may need to work!
ReplyDeleteThank you so much for the info!! It is of tremendous help :)
ReplyDeleteas always...thank you..
ReplyDeleteThank you for sharing! I've just recently discovered your blog and have been soaking up all the wonderful tutorials. Each one has given me an "a-ha" moment!
ReplyDeleteGreat tutorial and I love the idea of the control joints - never heard of these before and they make SO much sense! Thank you sir!
ReplyDeleteI just found your blog and web site. What wonderful sculptures. I just read your blog about how you got started with PC and the blog
ReplyDeleteabout your struggle about giving away your methods or not to give them away.
What I wanted to say is that a true artist does share. I think it is the people that think they are artist that don't.
That said you still need to have talent. For someone like me I can read and practice and practice and read and still not come up with the same type of figure that you do. It is truly wonderful for me to be able to see what you are doing. Thank you so much.