I like to start each piece with the head. If the face does not work for me, the rest just won't happen.
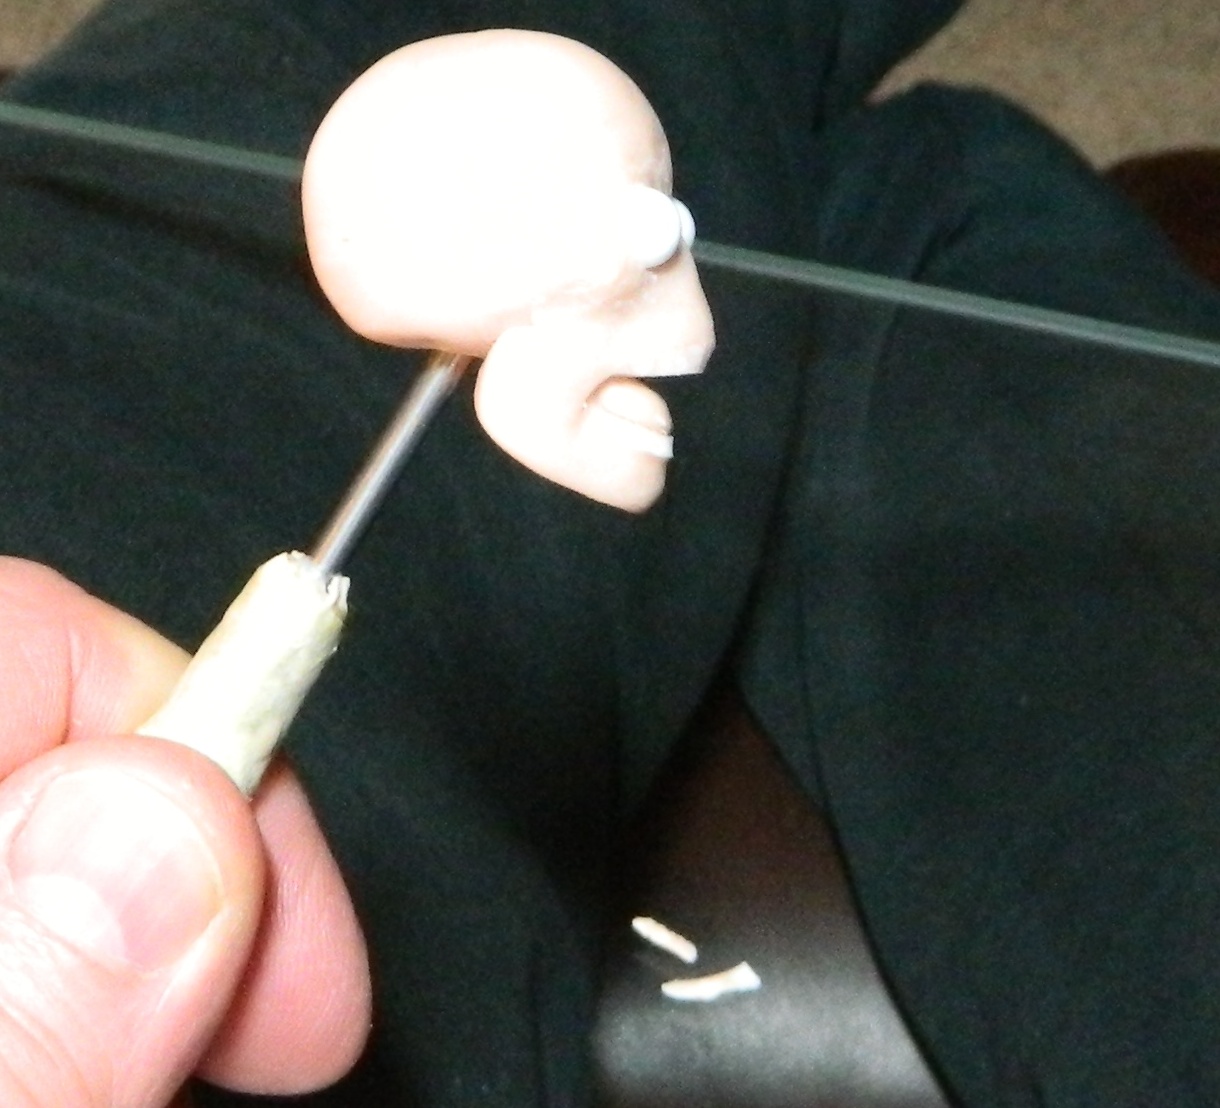
I start with a polymer clay skull into which I have set 6MM white mountain jade beads.
The skull is cured and then the lower jaw is attached in the position for an open mouth. This is cured as well then the tongue is inserted. Be sure that the jaw opens in an arc rather than just dropping straight down to recreate the natural hinge pattern of the skull/jaw structure.
I use a sharp knife to bevel the front of the upper and lower jaw area so I can attach teeth. Note the two slices of clay under the skull.
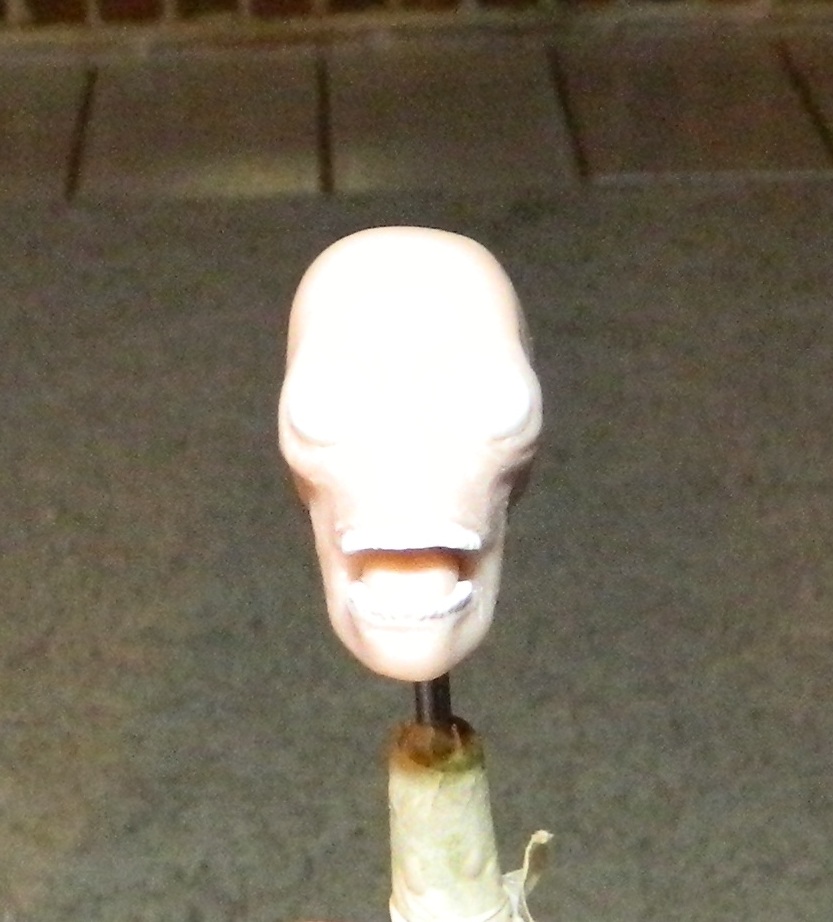
The bevel is coated with Translucent Liquid Sculpy so the new clay will stick to it better.
Teeth are sculpted onto the front of the bevel.
*** I am using an old step by step of a previous face for this demo. We will return to the open mouth head later. For those who have come to a class here, or who have my DVD, this will look very familiar.
A 1/4" thick layer of clay is added to the forehead and seamed to the skull on all sides.
The lower part of the face is bulked out. Keep the clay over the nose thinner than the clay on the sides of the face. Seam the clay to the skull and the forehead clay. Seam around the eyes so there are no air pockets.
First layer complete.
The nose is added. The sides of the nose clay will sweep onto the planes of the cheeks. Do not make sharp angels where the planes of the nose and the cheeks meet.
The upper lip is laid in and seamed to the face. The lip is formed by cutting a parabola of a cone (see figure 88) the section sliced off becomes the upper lip. It is tapered from the top to the bottom, also gets wider as we travel from top to bottom, and arcs from side to side.
The lower lip is added.
The side view of what we did so far.
Extra meat is attached to the cheeks as needed.
Lower lids are attached. They should be the same thickness the entire way across the eye. The lid follows the arc of the eyeball or "wraps" itself around the eyeball. The lower lid will start and stop about halfway up the eyeball..
The upper lid will start at the nose by butting up against the lower lid. Once again, it wraps itself over the orb of the eyeball to where it meets the outer edge of the lower lid. I prefer to have the upper lid overlap the lower lid slightly on the outside when I am done. The thickness will be consistent the entire way across the eyeball.
The area between the upper lid and the brow line is filled and seamed to the face
Nostrils are shaped as are the lips.
From the side. Notice that the eye has roundness to the side. You can see the white of the eye from the side. If not, you have too much clay on the lids.
Now the detailing gets done.
The ear is attached behind the jaw.
The outer crease of the ear is pressed in place.
The clay in front of the ear is pressed into the ear canal forming a ramp from the side of the head into the ear.
The ear canal is formed with the tip of a tool. The final shaping is done on the ears. (Our black lab, Jack, decided to sit under the sculpture for this shot)
The ear should be tight against the head in the front.
In this shot you can see the final details of the face.
The ears stick out in the back like a wedge. (Jack got bored and went to bark at the harvesters outside)
Thanks for looking, hope you have a great day!
Mark

 The clay is conditioned and applied to the armature so it will be about 3/8" thick.

 The major topography of the torso is laid in with a sculpting tool.
 The same markings are laid out on the back.
 The armpit and other features are marked.


